Time Machine via Tailscale to Synology was not robust enough
As a MacBook owner, I like to leverage the functionality of MacOS to back the machine up, little but often.
I previously attempted to use Tailscale for Time Machine backups but it’s an effort that I’ve largely given up on, the stability of the Tailscale interface on my aging Synology box is not reliable enough, even with bonded Ethernet ports.
It seems there is a better solution out there – backing up via Wireguard. Same as Tailscale but different?
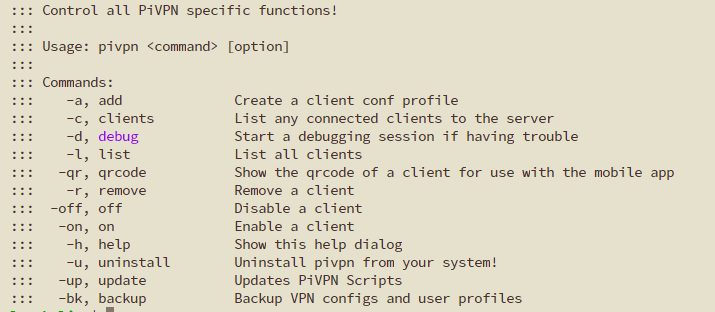
As a proud owner of several PiHoles, I added PiVPN to one of them. Blissfully simple to install, it allows the MacBook to have an on-demand VPN into the network where the Synology unit is offering itself as a Time Machine destination.
Follow the instructions in that guide to enable your Wireguard VPN and connect your MacBook to it.
The benefits of using this VPN are manyfold:
- PiHole adblocking is effective for the devices off the network, including the MacBook
- My SmartDNS provider DNS (SmartDNSProxy) is active for the PiHole and allows region-steering for entertainment services connecting via the Wireguard VPN
- The Time Machine destination is on the same network, effectively, as the VPN layer
Setting up the Time Machine destination
[You may not need to do this if you already have Time Machine backups on your local network]
On the MacBook, you need to map an SMB share to the Time Machine folder location. Ensure you save the credentials used in the keychain.
Next, visit System Settings and go into General. Choose Login Items and in the Open at Login section, click the + and add the folder so that it’s connected at login.
After this, you can add your Time Machine options (System Settings/General then Time Machine) and click the + to add a destination for the backup. You will be offered the mapped folder location, follow the prompts and set up your Time Machine backup. The backup should then begin.